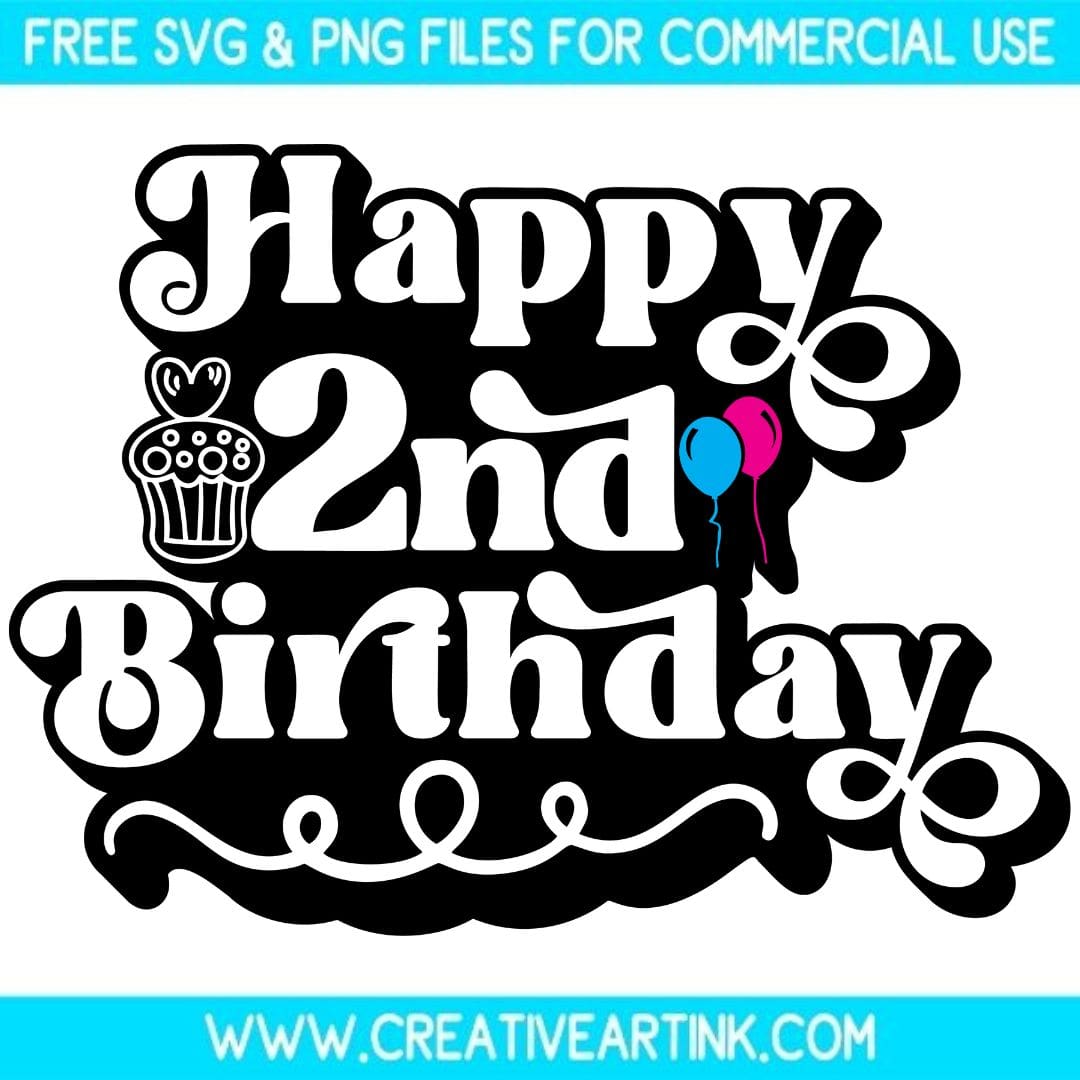
Ahoy there mateys (insert Popeye the Sailor Man music)!
If you're here from the
What I Wore Wednesday party, welcome! I am doing a tutorial today of "What I Wore"! My nautical rope necklace!
 |
The outfit isn't spectacular but the necklace is ;) Whole outfit is from forever 21 and the shoes? Click here for info ;) |
|
I don't know about you, but I'm cuh-razy about navy. I'm into the nautical trend that's going on now. My favorite color to wear has always been navy.
Yesterday, I posted a few necklaces that inspired me to go and make my own. Here they are, in case you forgot ;)
 |
Anthro $248 |
 |
Topshop- $40 |
My goal was to spend less than $10 smackeroos. By golly, I spent HALF that! The Anthro necklace was $248. What in Sam Elliot is going on here?!?
So with out further ado, my very own Nautical Necklace Tutorial...
Supplies needed:
Spool of Navy Grossgrain Ribbon 5/8" wide-$1 at Hobby Lobby
Spool of "rope" 7.9MM thick-$1 at Hobby Lobby
Gold and Silver Chain with Wide Loops-10 inches long each
(I bought this clearance necklace at Target for $3.50 and took off two strands)...
Fabric Glue (I had on hand but you can buy for $2.50 with coupon at Hobby Lobby or Joanns)
Time: Less than a half hour
Total: $5.50
Cut a 50 inch piece of rope. Tape the ends so that they don't untwist (why I have a picture of this is just funny to me so I had to put it in).
Cut a 64 inch piece and two 4 inch pieces of ribbon.
Lay your two chains together.
Begin by taking one end of the rope and sliding it through the end of the chains. Leaving 7 inches or so on the end, tie a knot (just one tie) around the end of the chain to hold them in place.
Now, take the rope and begin to tie loops around the chains. It's sort of annoying because the rope starts out super long, but it gets shorter as you go, I promise. As you are tying the loops ensure that they are tight and that they are the same distance apart as you go.
Once you reach the end of the chains, slide the loose end of rope through the last chain links and tie a knot like you did on the other side. It's not that time consuming. If you don't like the way it looks, do it again! (I did!).
After you tie your knot, cut the rope ends so that they're even, leaving at least 6 inches of rope on each side. Re-tape if you cut, then cut half the tape off so that the tape doesn't show after the next step.
Take your ribbon and slide one end through one side of the rope loop. Slide it all of the way through. You're not really weaving it as much as pulling it so that it stays on one side of your chains. Look at the pic and see what I mean.
Pull the end of the ribbon through so that the ends meet up at the top
Now, take the 4 inch piece of ribbon and put a line of fabric glue on it.
This is my most unfavorite part. Dealing with glue has never been a love of mine. But this is the last step, so stay strong! Take the glued ribbon and wind it around the sections of the necklace where the rope ends. Make sure that it's as tight as you can make it and make sure that the ribbon (that's part of the necklace) bends inward over the rope.
After this burn the ends of the ribbon so that it doesn't fray.
And that's it! Fabulous!
If you have questions, please feel free to email me!
I'm off to swab the poop deck. That's the kind of job I have around here. ;)